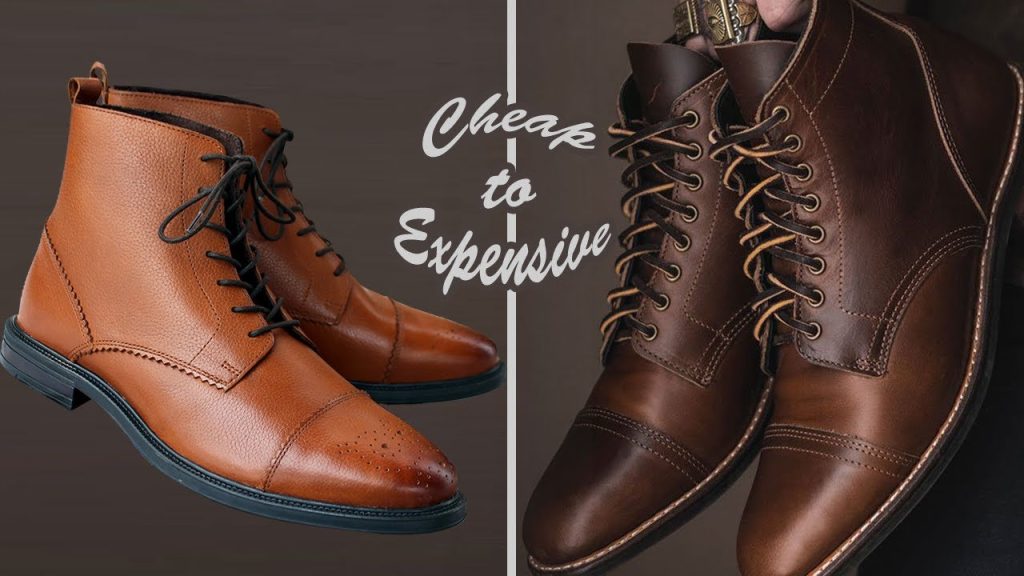
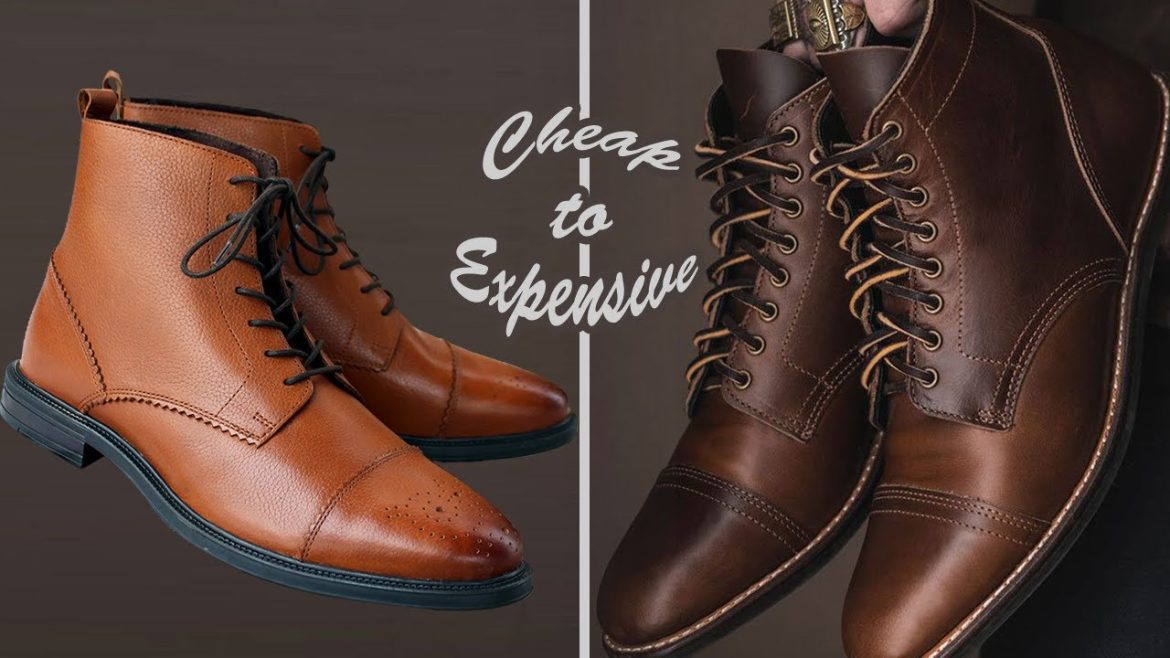
Since they may still look good even when damaged and, ideally, when they feature maker’s errors, I wanted to create some kind of chukka. I used the techniques from J.H. Thornton’s Textbook of Footwear Manufacture and made a few adjustments to suit my preferences.
Making the insole ready
A rough outline is cut out, wet, fastened to the bottom of the last with nails, and hammered. After securely holding it till the very end with something elastic, it is left to dry for a day.
The holdfast is then marked and carved into the insole, and the markings are followed by awl holes. When attaching the welt, lining, and upper to the insole, this will be done.
If you want to know about sewing machine and how to sew than go on this site Mrsewguru.com

Lasting
Throughout this process, I keep the uppers damp using a large paintbrush and water. In this process, paste was also put to the wet heel stiffener (not pictured). After being stretched over the last and secured with nails, the upper is then given a day or more to take on its new shape.
The front is next raised, the lining is re-lasted, and a paste-filled toe puff stiffener is applied, lasted, and battered with a shoemaker’s hammer until the paste is thoroughly incorporated into the leather’s empty area. This is let to dry, harden, and take on the desired shape for a day. Next, the toe puff is cut off at the bottom, and the toe is shaped and any protruding bumps under the top are smoothed off all around using a metal file. The puff is then re-wetted, the top is latched over it, and everything is left to dry together for a day.
Welting
To serve as the welt, a strip is cut. Before using it, this is first soaked and covered in newspaper for a day. I coloured it and marked the welt to aid me in guiding the awl through when stitching. Then I sew a saddle through the holdfast, lining, upper, and welt using bent needles (I simply heat straight needles on the hob and bend them). A steel shank is bonded into place when the welt is completed, and the entire insole’s void space is then filled with cork and smoothed up using a rasp (maybe with a slight rounding in the ball of the foot). Outsole
The sole is then glassed to eliminate the shiny side before being adhered to the welt with glue and stitches. I use a wing divider to indicate the hole placements, then awl the holes before stitching. In this instance, I will also top the shoe with sole rubber that I purchased from a nearby cobbler (same for the heel). Even you can Buy Cobbler sewing machine for making the lather shoes Go Now.
Constructing and completing your heels
My favourite part is this. The heel is constructed by adding and flattening layers of leather (and paste). On the final layer of leather, nails are placed in a ‘U’ form 1/4 in from the edge and 1/2 in apart, all angled inward plus three down the middle. Every other lift, I placed three nails in a triangle. With the aid of a knife, glass, or rasp, each lift is levelled flat. The sole and heel are then roughly moulded with a knife, peened, and rasped. It is smoothed with glass once it has taken on the proper shape. After that, I sanded in two directions with 120 and 220 grit sandpaper before dying the sole and finishing with wet 1000 grit sandpaper.
I glue the rubber cap on after sanding it to a very smooth finish. This is ground down until it is flush with the sole. I used a standard leatherwork edge burnisher for the edging (not in the grooves, but I just use the handle portion). I use a paintbrush and water to wet it a little at a time. I keep doing this till it shines quite a bit. I continue until all of the wax has melted in before adding shoe cream and hard wax. Shoe wax and polish follow. It takes a while, but I don’t give up until I make it close to watertight.
Shining and dying
I used an alcohol-based leather dye from Denmark called ROC after removing a small portion of the covering that the upper leather had originally had. I made an effort to create an antiquated feel. With each layer, the intensity and coverage are increased while maintaining a 1/3 ratio of redbrown to darkbrown. After that, I had 3 applications of saphir creme and 1 application of saphir pate de luxe. The final results are as follows:


